

Appearance
Set up the bench
A new bench opens on Home with a Set up this bench card. It lists three jobs, which you can do in any order. Each row is the button that does it, and it ticks off once done. When all three are done the card goes, or you can close it for good with its X.
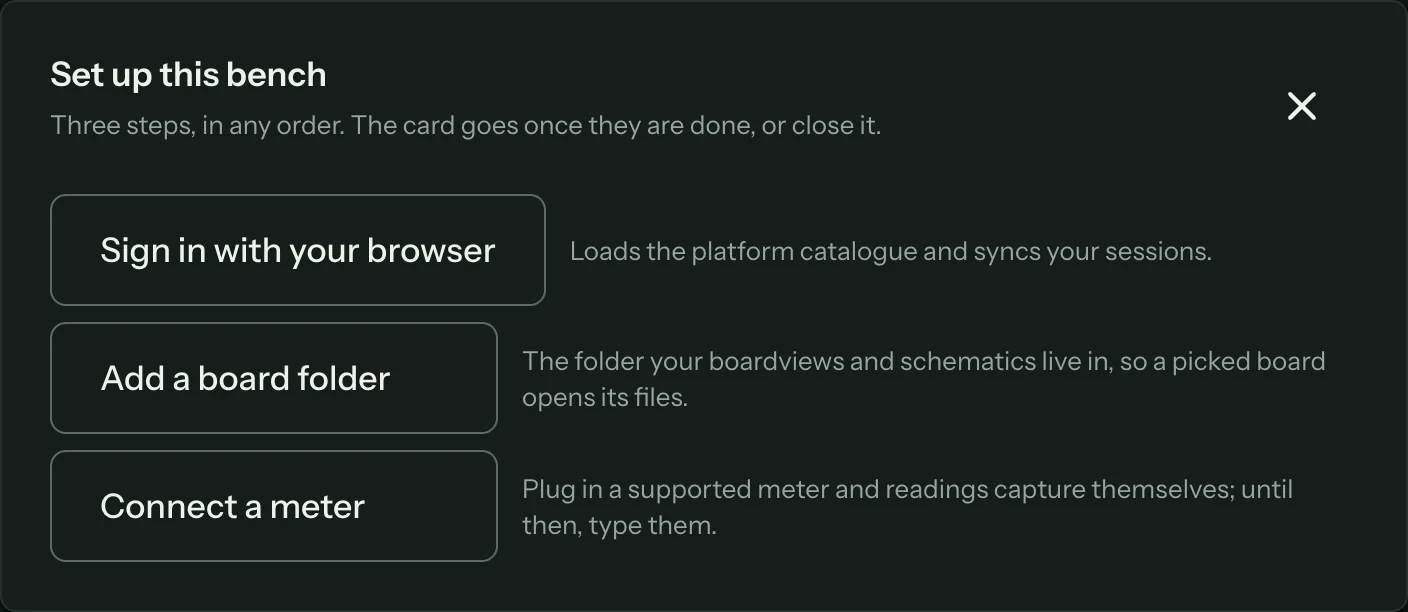
| Step | What it does |
|---|---|
| Sign in with your browser | Loads your workspace's boards and fault trees and syncs your sessions. See Sign the bench in. |
| Add a board folder | Tells the bench where your boardviews and schematics live, so a picked board opens its own files. |
| Connect a meter | Plug in a supported meter and readings capture themselves. Until then, you type them. |
Add a board folder
Point NextProbe at the folder (or folders) where you keep boardviews and schematic PDFs. When you pick a board, the bench searches these folders for files that carry the board number in their name or folder path, and opens the best match. A board with two files, say a BRD and an FZ, or two revisions, offers the others from the File menu on the Board screen.
- Press Add a board folder on the card, or open Settings → Board files and keys, and press Add folder.
- Choose the folder. Sub-folders are searched too, up to 16 levels down, so a pack can stay organised the way it came.
The bench keeps only the folder's location. The files stay where they are, they are read only when you open them, and they never leave the computer.
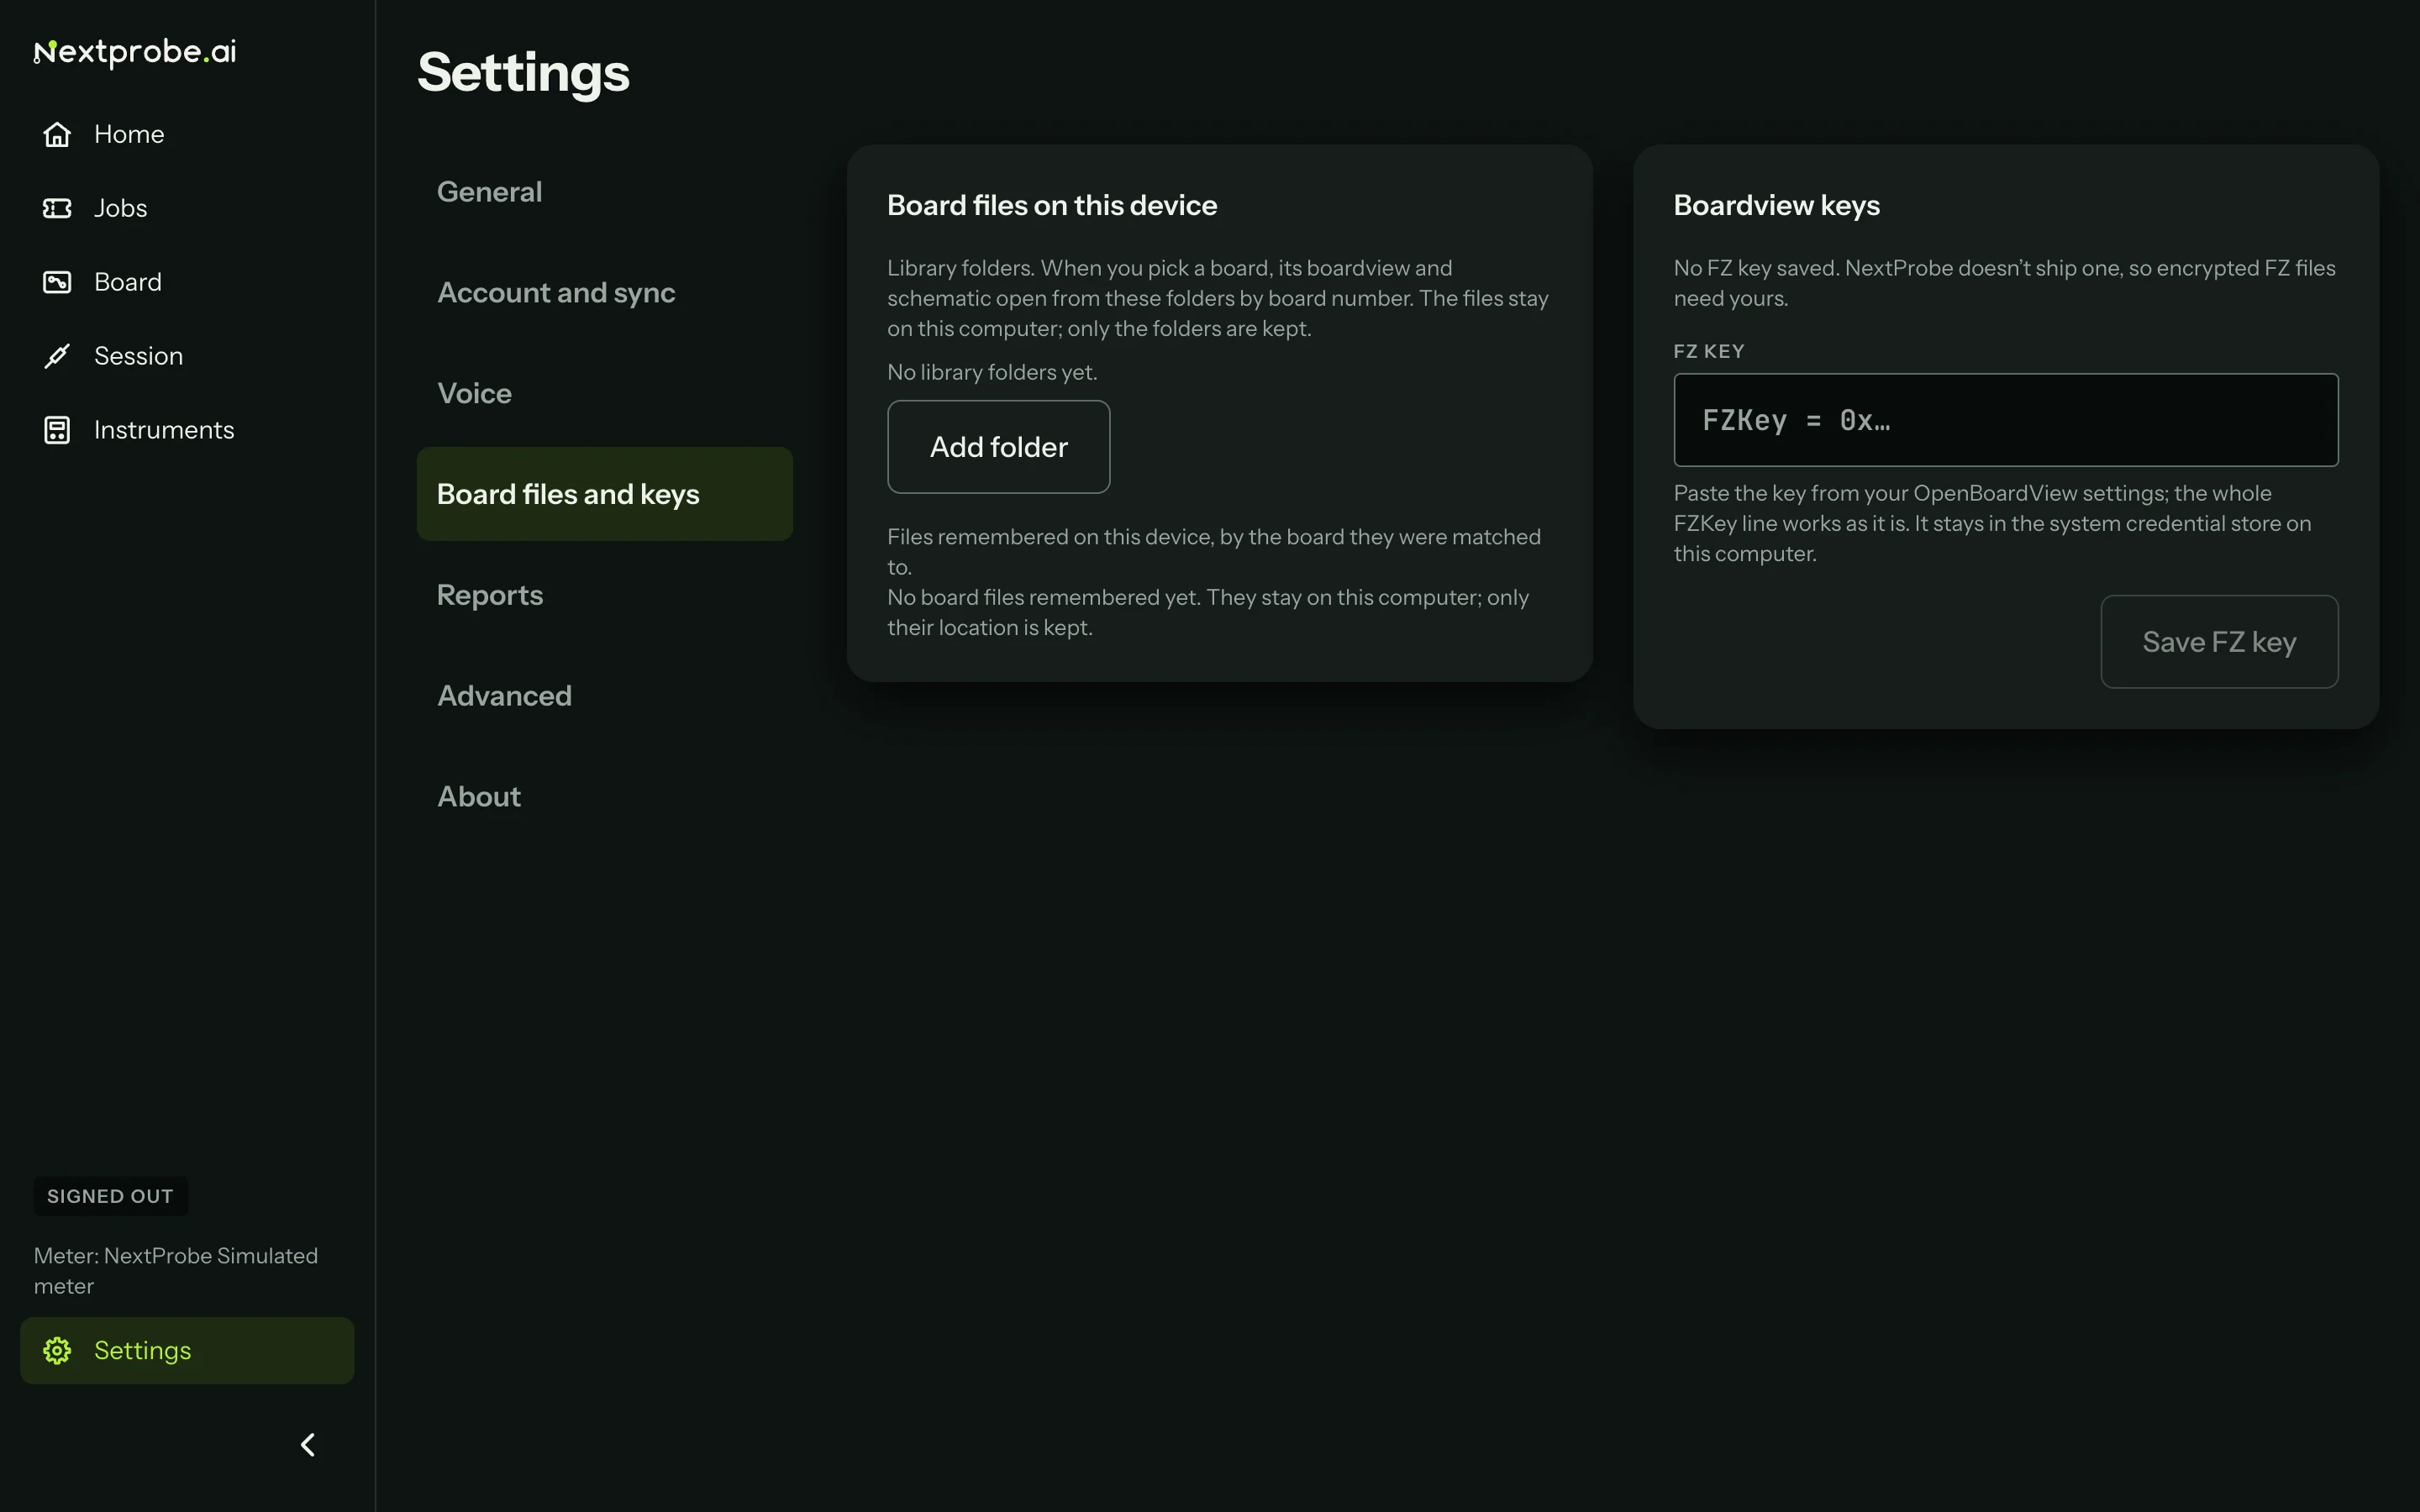
Under the folders, Settings lists the files this bench has matched to a board, with Forget beside each. Forget a file if it was matched to the wrong board; the next open asks again.
You don't need a library folder. Open board file on Home or the Board screen opens any file, and the bench remembers it for that board from then on.
Connect a meter
Plug a supported meter into a USB port. A meter on the supported list connects by itself within a few seconds, and the sidebar's meter line changes from "Looking for a meter" to its name. The Instruments screen lists it under Connected.
Any other meter works through manual entry: each step names the mode, you set the meter and type what it shows. See Supported hardware for the supported meters, their setup on the meter's own menu, and calibration.
Your report details
Reports carry your shop's name and your name at the top, so fill these in before your first job. Open Settings, then Reports.
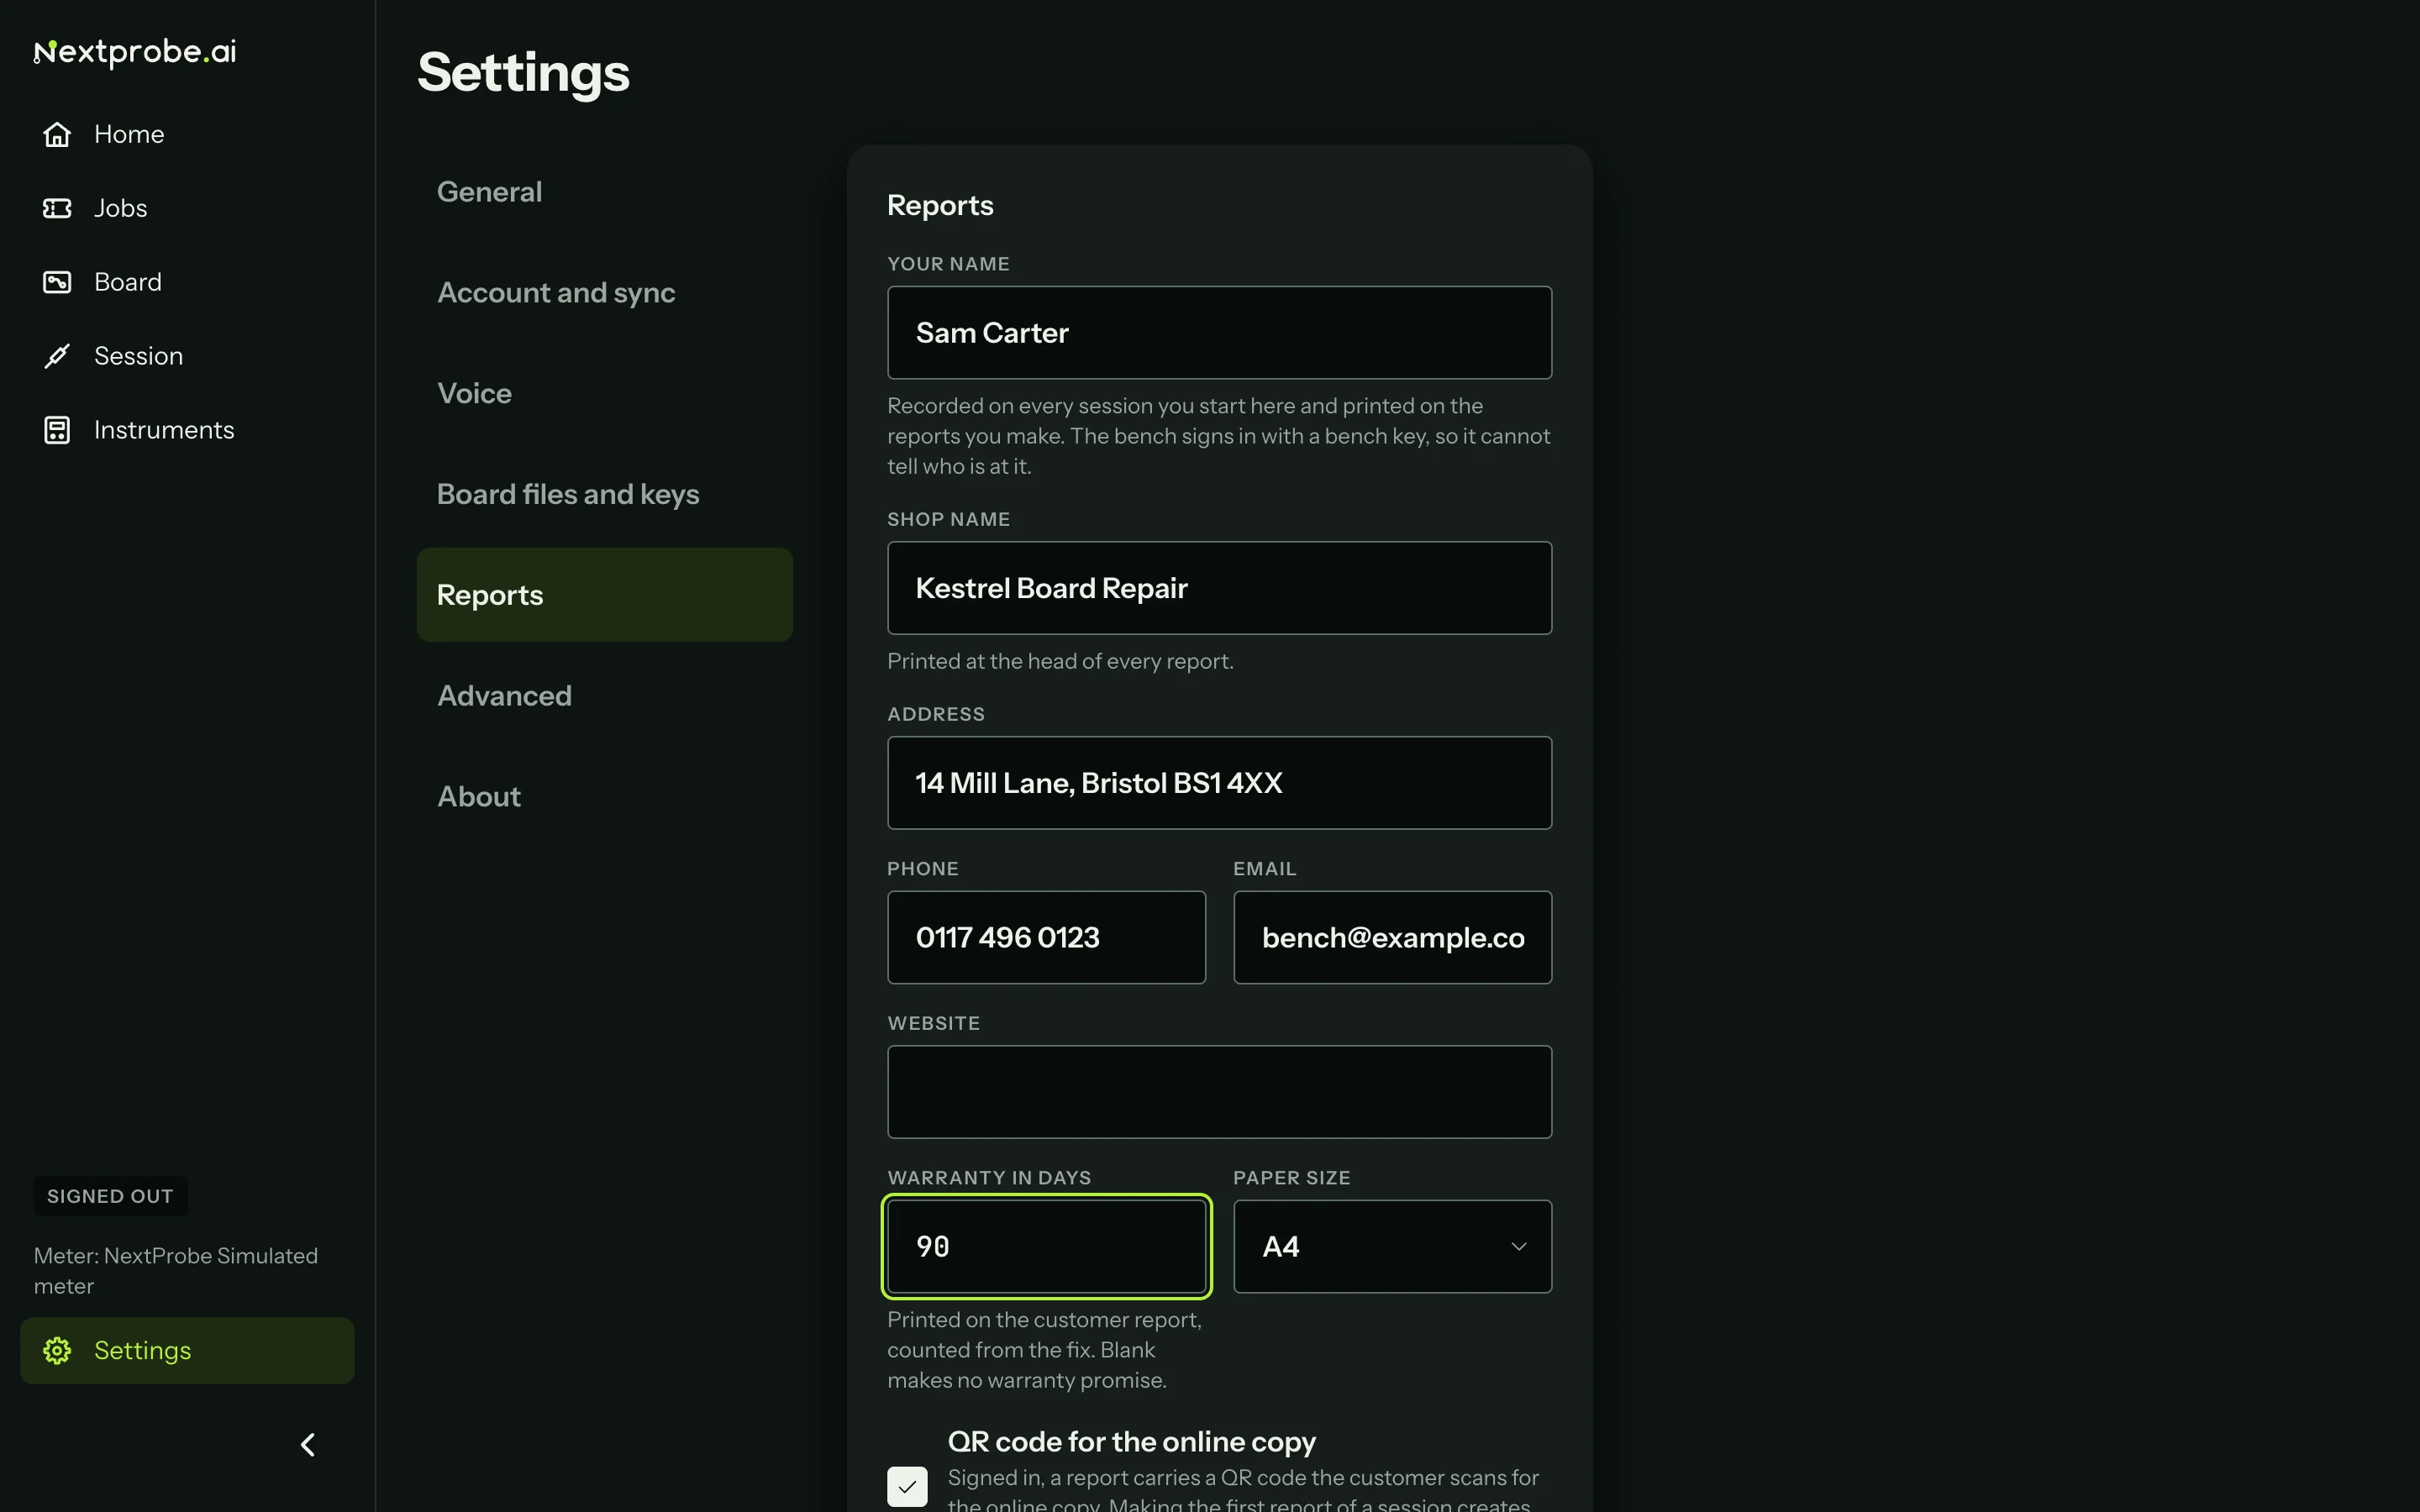
| Field | Where it shows |
|---|---|
| Your name | Recorded on every session you start on this bench and printed on its reports. A bench signs in with a bench key, so it cannot tell who is at it; this is how it knows. |
| Shop name, address, phone, email, website | The head of every report. |
| Warranty in days | Printed on the customer report, counted from the fix. Leave it blank to make no warranty promise. |
| Paper size | A4 or Letter. |
| Logo | PNG or JPEG, up to 512 KB, kept on this bench. Without one, the NextProbe logo heads your reports. |
Press Save report details when you are done.
FZ files and their key
Encrypted FZ boardviews need a key, which NextProbe does not ship. If you have one (it is the FZKey line in your OpenBoardView settings), paste it into Settings → Board files and keys, under Boardview keys, and press Save FZ key. The whole line works as it is. The bench checks it as you paste it, and says why if it refuses it. It is kept in your computer's credential store, is never shown again, never syncs and is never written to a log.
You can also wait until you open your first FZ file: the bench asks for the key then, saves it, and opens the file.
A few preferences worth setting now
In Settings → General:
- Beep volume, if the bench sits near an extractor fan. The two bright beeps when a reading saves are your signal to lift the probe.
- Bench mode, if you work in gloves or stand back from the screen: every control grows to 56 pixels and the step text grows to read from a metre away.
- Theme: dark is the bench default; light suits a bright room.
Settings covers every setting.